Garage Door Seals 101: No Cold Air This Winter
Winter is coming…and the snow, wind, and cold air are close behind. Cold air can slip through tiny space, but just enjoys going through big spaces. The cold air could be coming into your garage right passed the garage door if your garage door seals are outdated or worn. The best way to prevent cold air, along with water, dirt, small critters, and insects, from sneaking into your garage is to replace the bottom seal or threshold seal of the door. If your garage door lets in wind, dirt, leaves, etc. when it’s closed, you need new garage door seals.
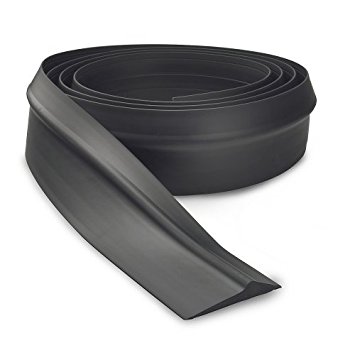
A threshold seal is a piece of rubber or vinyl that attaches to the ground below your garage door. The material is flexible and compresses when the door closes, sealing the gap with the floor. Threshold seals tend to be tougher and last longer than door bottom seals.
A bottom seal is the same as a threshold seal, but rather than connect to the ground, it’s attached to the garage door, it’s attached to the ground.
It may seem like a daunting task, but have no fear, it’s as simple as a hanging a picture on the wall!
To begin, gather the needed supplies:
- Measure garage door and get the appropriate length of material
- Pencil
- Measuring tape
- For wooden doors,
- Hammer
- Flat bar
- Galvanized roofing nails
- For metal doors,
- Sheet metal screws
- Power drill
- Scraper
- Abrasive cloth
- Scissors and/or utility knife
- C-clamp, optional
Threshold Seal
- Remove the old threshold seal with a scraper or utility knife, then clear away old adhesives with soap, water, and an abrasive cloth
- Measure between tracks so you know the length of rubber or vinyl; cut your seal to that length
- Raise your garage door enough so you can line up the threshold seal under the door; the hump side of the seal should be on the inside of the door
- Lower garage door onto threshold seal and push the hump against the back of the garage door
- Use a pencil to mark both the front and back of the threshold, keeping it in place as you trace
- Move the seal and apply the adhesive between your pencil lines making one continuous “S” down the length of the door; follow the adhesive directions for needed set time
- Starting at one end, apply the seal to the adhesive between your marked lines, then close the door so it applies pressure for 24 hours; and you’re done
Bottom Seal
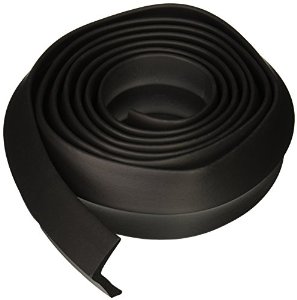
- Measure your garage door(s) so you know the needed length of rubber or vinyl; cut seal to that length
- Raise your garage door so you can work with the bottom of the door. Some doors allow you to raise the door to your desired height and it stays, if that doesn’t work, attach a C-clamp or set of locking pliers on the door tracks to keep it in place
- Remove old seal
- If your door is older, it’s likely the bottom seal is nailed on; remove the nails with your hammer and flat bar
- If your bottom seal is attached to a track on the bottom, simply remove it from the track and slip in a new seal, trimming for the right fit
- Starting at one side of the door, attach the seal to the door — use nails or screws depending on your garage door material. Install with the larger, sloped edge towards the outside and flat part against the bottom of the door
- Trim any excess material and you’re set
An insulated garage door for the winter, and all seasons, is what keeps your garage door at a bearable temperature. But even an insulated garage door won’t be able to perform if the garage door seals is doing its job. They’re worth the replacement!
For any garage door needs you may have, call Overhead Door Company of Garden City 620-275-4602 or contact us today! Let us help you get your garage for winter!
Call today! 620-275-4602

